Purpose
Quickly match truss webbing geometry across multiple trusses. You can also designate an open truss as a master shadow truss that will be shadowed behind all other trusses when made active.
Prerequisites
Two or more trusses
Steps

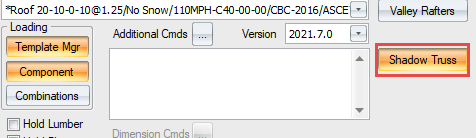
- Open two or more trusses in Design view and click Shadow Truss.
The Shadow Trusses window displays a list of the currently open trusses. This option is only available when two or more trusses are open.
- From the Alignment drop down list, select an option.
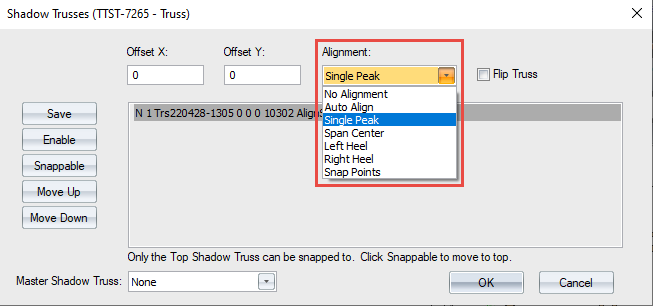
For this example, Single Peak is used.
- Click OK.
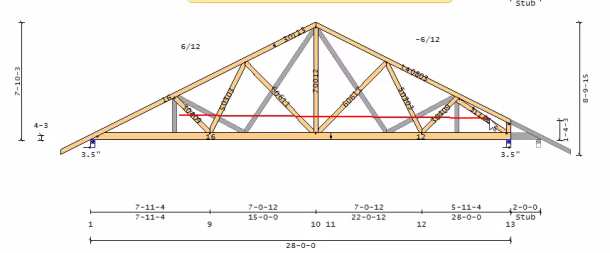
A grey shadow displays behind the active truss. You can now match the webbing and/or joint locations of the base truss and then visually confirm that the trusses correctly align. You can shadow multiple trusses at once.
- Select all of the webs.
- Click Delete. The sample truss now looks like this.
- There are two ways to edit the truss now:
Stitch webs:
1. From the Operations menu, select Stitch Webs or click  . Note that if you use this command without first making a selection, you are prompted to pick a point at which to stitch webs.
2. Select joints from the shadow truss to stitch. If you click a chord but are not near a snap point, Truss Studio selects the nearest snap point. Click Accept or right-click to exit the command.
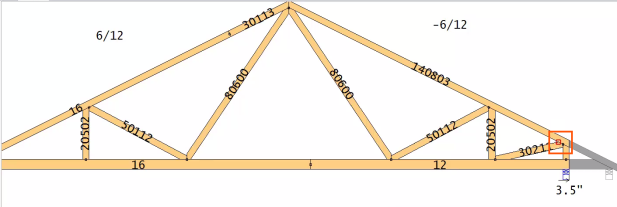
Snap points are highlighted on the truss in red.
3. Click Run.
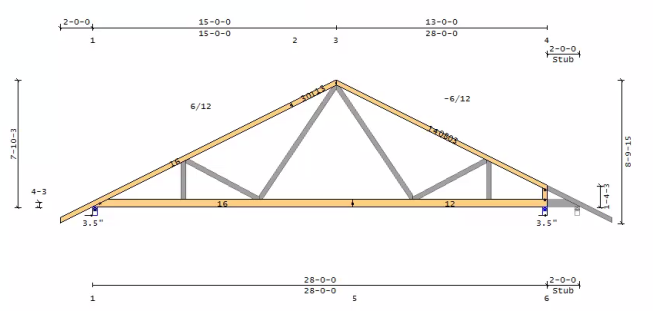
The truss is shadowed, as shown in the example below.
To flip a truss, select the Flip Truss option. This is useful if you want to flip a shadowed truss in order to stitch webs and match webbing with other trusses
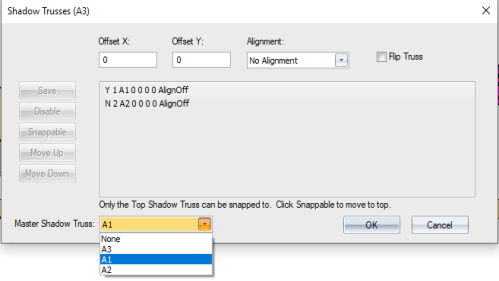
The master truss will be shadowed behind all other open trusses when made active.